When it comes to working with imagery in PowerPoint, the possibilities extend so much further than an inspirational jpeg of someone scaling a mountain. By introducing vector graphics into your PowerPoint repertoire, you open your designs up to an endless supply of aesthetic impact.
If your brand, or your message, doesn’t lend itself to photography, you can still include visual support for your key points. But, before we get into the ‘how’, we just need to lay down a little theory.
There are types of image?
While there are many different image formats knocking around, they all fall into one of two categories: raster or vector. One of the differentiating features lies in how the image has been created.
Raster images are made using a fixed number of pixels. If you try to increase the size of a raster image, new pixels don’t just magically appear. You get what you’re given, pixel-wise. These pixels just stretch as your image enlarges, leaving you with a fuzzy, pixelated mush.

Vector images, on the other hand, are created through mathematical formulas. Fancy. This means they can scale up or down without becoming distorted.
While this may be a way to tell the difference, it’s unlikely to be a key point of contention for you. How often do you need your mountain image to be the size of an actual mountain?
So, why would you choose to use vector graphics in your PowerPoint presentations?
Brand consistency
Once you’ve sourced an image that says exactly what you want it to say, it still needs to complement your brand and your slide design. Like I said, you get what you’re given when it comes to raster images, so there are very few options available to you, within PowerPoint, to make your image consistent with your brand.
You can adjust the colour, but we’d mostly suggest avoiding that tonal nightmare. You can add a coloured filter over the top, but that will dilute some of the clarity and crispness of your image.
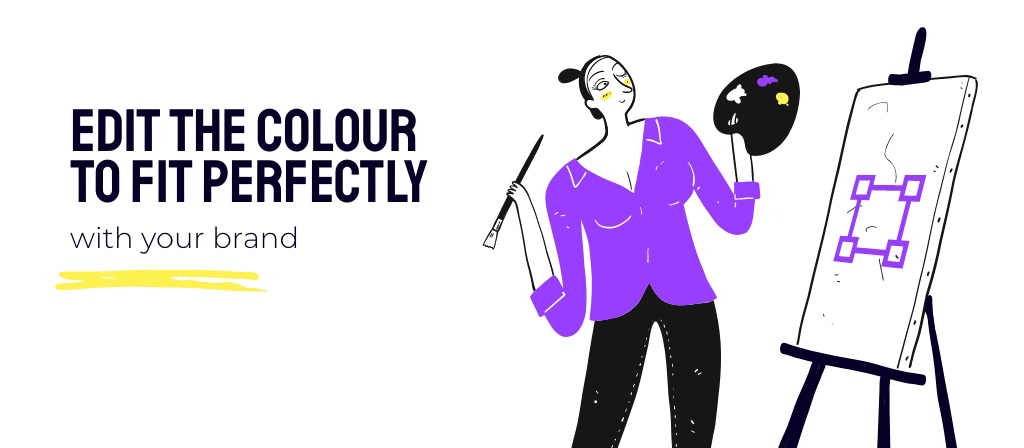
With vector graphics, you can easily edit the colour to fit perfectly with your brand, without leaving PowerPoint. Simply insert the graphic you want to use, make sure it’s selected, and change the colour in the top ribbon, as you would any other shape.
Flexibility
There are thousands of icon and illustration resources available, but what if they’re not quite sending the right message? With vector graphics, you can fiddle with the visuals to make them what you need, rather than being limited to what you can find. Reduce a complicated illustration down to just the section that you need, add some text, remove some text, whatever you require. Build up your own bespoke library of design elements by breaking apart the originals into the parts that work for you.
That all sounds great, how do I find vectors?
If you’re an Office 365 user you can access a library of surprisingly good vectors from within PowerPoint. Go to Insert > Icons and you’ll find a large selection of SVG icons and editable illustrations. If you’re not on Office 365, or there’s nothing in the PowerPoint library quite hitting the spot, a quick Google search will give you a comprehensive list of vector sources, but we like to use Noun Project for our icons, and Shutterstock for illustrations.
Sounds good. Thanks. I’m going to go add some vectors to my PowerPoint.
Hoooooold on, we’ve not quite finished yet, although we appreciate your enthusiasm.
What types of vector graphics should I add to my PowerPoint?
Simple: SVGs.
Scalable Vector Graphics (SVG)
SVGs give us all the editability and scalability benefits we need from a vector graphic.
Not only that, SVGs are generally small in file size, which helps when creating large presentations with lots of graphics.
They can also be broken down into separate objects for colouring individual elements.
Once you’ve inserted your SVG into PowerPoint, select the image and choose Ungroup from the Arrange menu. You’ll see the distinct elements that make up the graphic have all become Shapes and Lines.
This is the dialogue box that’ll appear when you click Ungroup. You want to click Yes.
There may be a transparent background to your vector image, once everything has been ungrouped. Simply delete this and your SVG is ready to use.
Once your SVG vector image has been ungrouped, you’ll be able to edit, resize, group, reposition, and recolour all elements, just as you would any Shapes or Lines you created yourself with PowerPoint’s own Insert tools.
Great. SVGs sound good to me. I really have to go insert some vectors into my PowerPoint now.
Wait, please don’t leave. We have so much more to give.
Did you know you can convert other vector images into SVG format? Oh, now you’re interested.
If you’ve found the perfect vector image, but it’s not an SVG, you can take it into Adobe Illustrator and convert it easily.
Open the file in Illustrator, navigate to File > Export > Export As… then select to export as .SVG. Simple.
Okay, we’ll let you go now.
Using images in your PowerPoint presentation can be a powerful way to convey meaning, add depth to your designs, and support your key points, but jpegs alone are extremely limiting. Consider introducing vector graphics into your next PowerPoint presentation, and step your presentation materials up to the next level.

